What to do with those turkey bones? Don't throw them away! One of my favorite things about having Thanksgiving dinner at my house is being able to keep the carcass so I can make turkey soup. I know, carcass is kind of a gross word, isn't it? :P When I was a younger bride, Thanksgiving was at my mother-in-law's house. When it was time to clean up after the big meal, her mother, my husband's Grandma Haugen, was the only other person other than me who was interested in those bones. So, we each sidled up to the counter, eyeing those bones! We usually took turns taking the bones home each year. Now those two wonderful women are no longer with us, unfortunately, and I host the Thanksgiving dinner each year at my house. It's a lot of work, but the payoff is - I get the bones.
But this year I had to make two turkeys because our crew has gotten so big and my daughter-in-law took home one bag of bones so she could make soup too :) My son is a lucky man - she is an awesome cook!
If you haven't made turkey soup, you're really missing out. Some people hesitate to make soup because it feels like a big undertaking, best left to expert cooks. But it is so easy that you don't even need a recipe. Here is how I do it:
On Thanksgiving Day, I remove the majority of the meat and set aside for leftovers. I put all of the bones in a ziplock bag. I include the pieces of skin - they add flavor and nutrition to the broth. If I'm not planning on making soup for a while, I may throw the bones in the freezer. This year I made soup about 3 days after, so I just kept them in the refrigerator.

You will need a large stock pot with a lid.
Put all of the turkey bones, including the carcass, the wing tips, the neck, etc. into your stock pot. Be sure and include the skin and fat - remember, this will make your broth more flavorful.

Add enough water to cover. Bring to a boil, then turn down to a simmer. This is the best part: Let it simmer for 4-6 hours. It smells so good! The longer you simmer, the more flavor you will have in your broth. The simmering breaks down the marrow in the bones and gives you more flavor and nutrition. I keep a lid on the pot while it's simmering, otherwise too much water evaporates, and you want to keep that in the pot for your broth.


When you've decided your soup base has simmered long enough, turn off the stove and pull your pot off the burner. Let it cool for about a half hour. Using a tongs, remove all of the bones to a large baking pan to cool.

Once I've pulled out all of the larger pieces, I use a slotted ladle to remove the smaller pieces.

My dad always told me the neck meat is the best part. It really is the most flavorful and tender - definitely worth the effort of picking through those tiny bones!

Place a sieve/strainer into a large bowl or pot to strain the smaller pieces out of the broth.

I do this over the sink because that big pot of broth is not easy to manage and I tend to spill a little :)
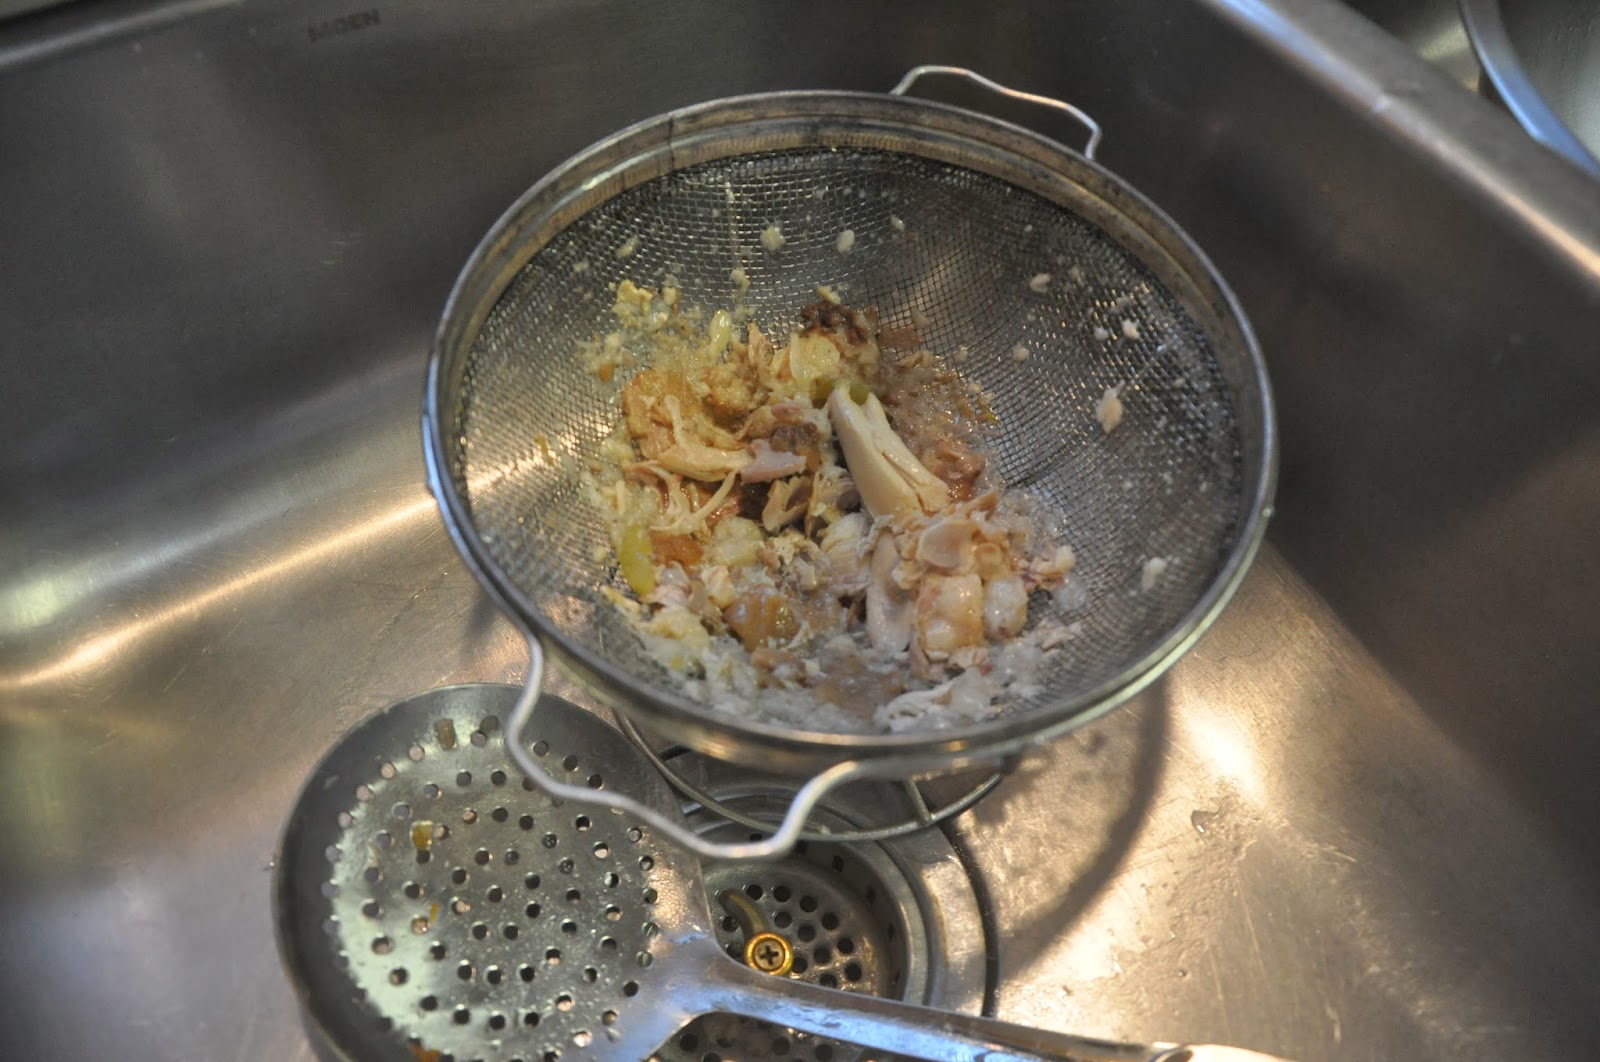
And here are all of the little bits you will have strained out of your broth - make sure you grab those few pieces of meat - you don't want to waste any of the good stuff!

And here is your broth - liquid gold! You could stop right here and freeze the broth for cooking if you wish. I have done that on occasion. But let's move on to making soup.
The next step is to remove the meat from the bones and return the meat to the broth.
Here is where I messed up. I got so into cooking that I forgot to photograph the chopping of the veggies. I do tend to get 'in the zone' when cooking, especially when I have some tunes on. I love to cook! Sorry about that, I hope you can figure out this part.
Now for the add-ins. This is my favorite part. You can add anything you want, depending on what your family likes. My family likes rice, celery, onions, and corn. If using celery and onions, I usually saute them in a small fry pan with a little butter until tender before tossing them into the soup.
I happened to have some leftover white rice in the refrigerator and some leftover wild rice in the freezer that I added to this batch. I threw a couple of carrots into the food processor and shredded them for a little color.
I also add about
1/2 cup of white wine to the soup for flavor, but that is optional. If you decide to do so, just let the soup simmer for about 10-15 minutes before serving. This allows the alcohol from the wine to evaporate while the flavor remains.

Sometimes I make dumplings instead of putting rice in my soup. You could also substitute egg noodles. Have fun with it! You'll feel like a pro, your family will love it and there is just no comparison between homemade and canned soup. Everything you have put into your soup is going to be something healthy - nothing artificial, and no preservatives. And you control how much salt goes into it.

I always have some of these little loaves of my homemade oatmeal/honey bread in the freezer to serve with soup. To fill in the spaces, as my mom used to say.

Depending on the size of your turkey carcass and the size of your family, you will possibly have leftovers. You've just saved yourself some serious money by making some good soup out of what many people would have thrown away. I had a ton of soup with this batch! So I put some into these Ziplock freezer containers and froze them for weekend lunches and for my husband's lunches at work.
By the way, this recipe would apply to any type of meat bones - such as chicken, beef or ham.
Now, Go Eat!
Marie
No comments:
Post a Comment